How Do I Record, Edit, and Publish a Podcast? (Tools, Software, and Workflow)
Introduction: Turning an Idea into a Finished Episode
So, you’ve chosen your podcast topic, settled on your format, and are ready to start recording. The next big question is: how exactly do you create a polished, professional-sounding podcast from scratch?
Podcast production involves several stages — planning, recording, editing, mastering, and publishing. Each step has its own best practices and toolsets, and with the right workflow, even solo creators can produce studio-quality episodes.
In this guide, we’ll break down every stage of the process, from setting up your recording environment to editing audio and distributing your show to platforms like Spotify and Apple Podcasts.
1. Pre-Production: Planning Your Episode
Before hitting record, preparation saves hours of editing later. Pre-production involves outlining your content, setting up your environment, and ensuring all technical elements are in place.
Key steps:
-
Outline the episode: Define your key points or script sections. This keeps the discussion focused.
-
Choose your recording environment: Find a quiet, soft-furnished room (avoid echo and background noise).
-
Check your equipment: Test your microphone, headphones, and recording software before every session.
-
Warm up: Do a quick vocal warm-up to avoid strain and improve clarity.
Recording without a clear plan leads to rambling and longer post-production times — structure upfront saves effort later.
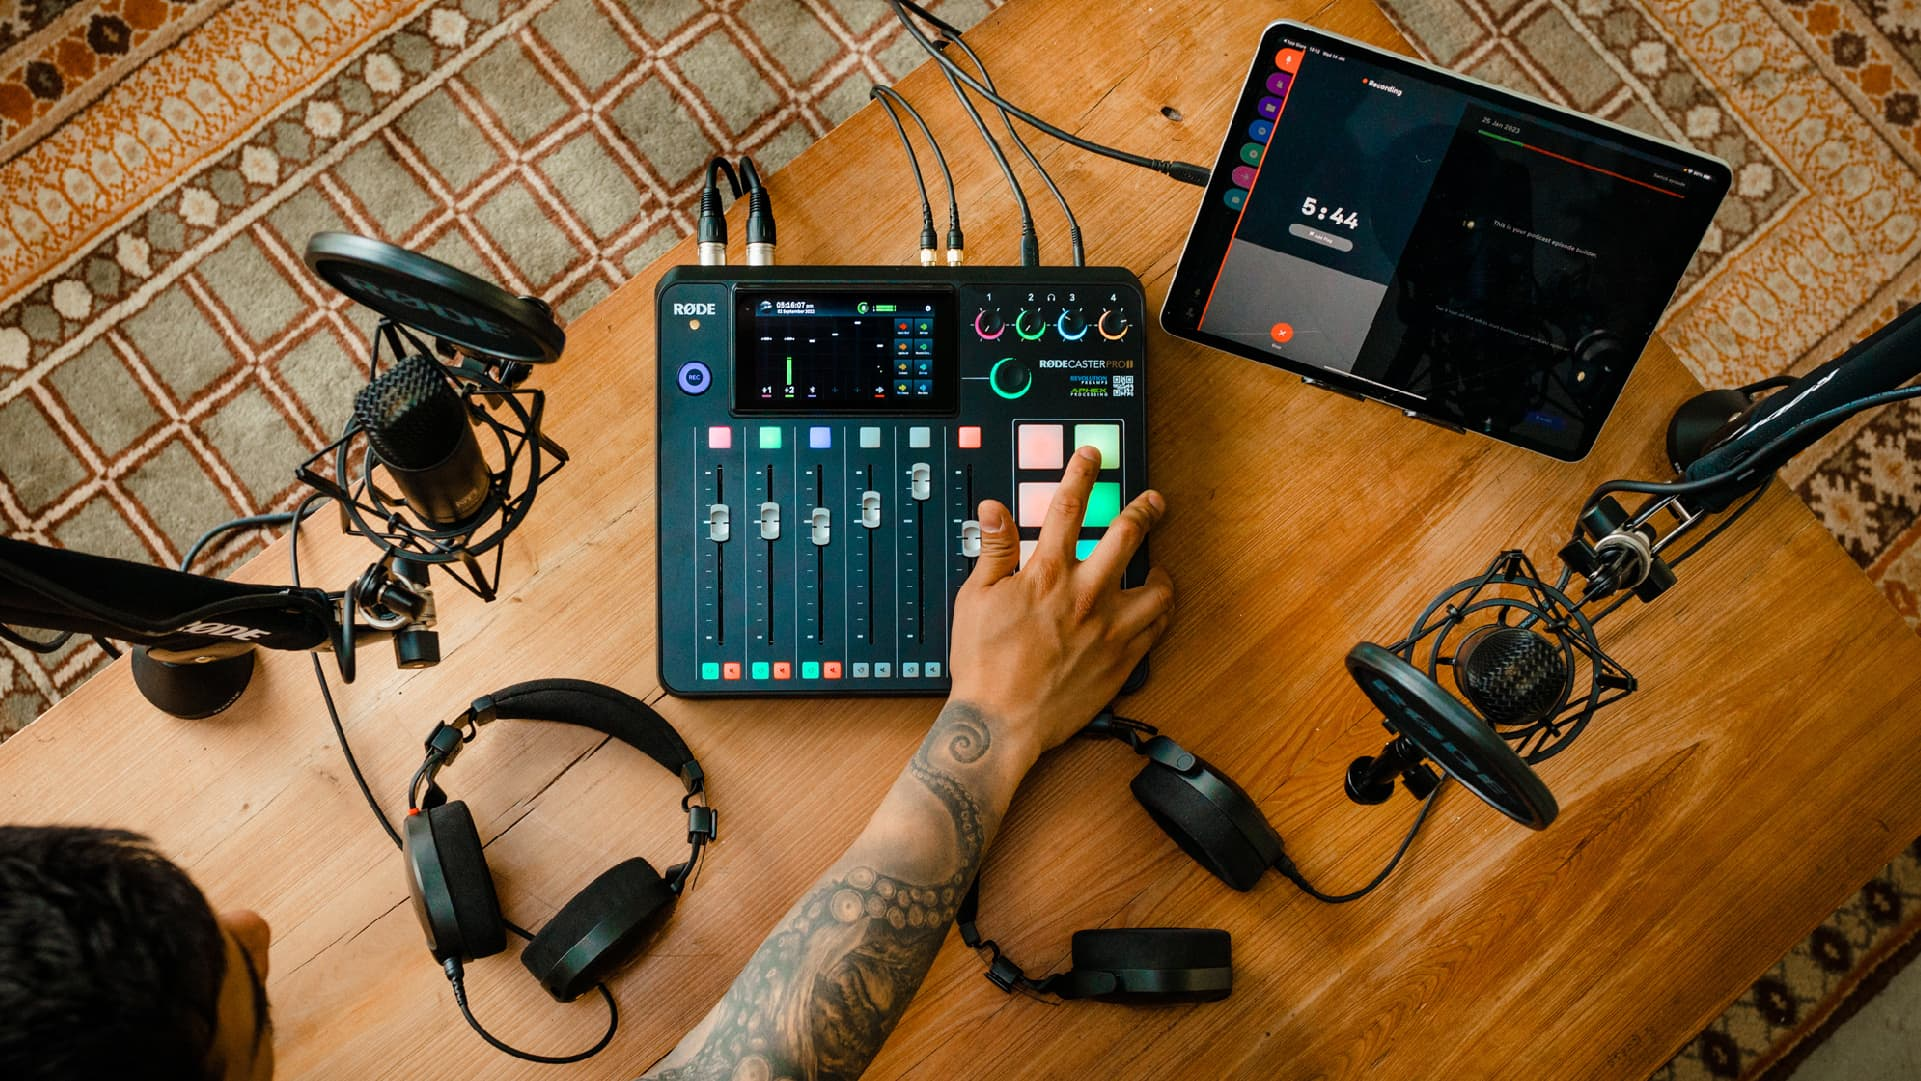
2. Recording Equipment: What You Need to Get Started
The quality of your podcast depends heavily on your recording setup. You don’t need a professional studio to sound professional — just the right combination of tools.
Essential Equipment:
-
Microphone:
-
USB mics (e.g., Blue Yeti, Samson Q2U) are beginner-friendly.
-
XLR mics (e.g., Shure SM7B, Rode PodMic) provide higher quality for advanced setups.
-
-
Audio Interface (for XLR mics): Converts analog sound to digital (Focusrite Scarlett, PreSonus AudioBox).
-
Headphones: Closed-back headphones (Audio-Technica ATH-M50x) help monitor sound without bleed.
-
Pop Filter & Mic Stand: Reduces plosive sounds and stabilizes your mic.
-
Recording Software (DAW): Software to capture and edit your voice — Audacity, GarageBand, or Adobe Audition.
You can start with a basic setup under $200, then upgrade as your podcast grows.
3. Recording Software: Choosing the Right Platform
Your recording software (often called a DAW – Digital Audio Workstation) determines how easily you can capture, edit, and mix your audio. Here are popular options:
-
Audacity (Free): Open-source, beginner-friendly, great for simple edits.
-
GarageBand (Free on macOS): Perfect for Apple users; solid features for voice editing.
-
Adobe Audition (Paid): Professional-grade editing, noise reduction, and mixing.
-
Reaper (Affordable): Full-featured with customizable workflows.
-
Riverside.fm / SquadCast / Zencastr: Record remote interviews in high-quality separate tracks.
Always record in .WAV format for maximum quality, then export compressed .MP3 files for publishing.
4. Recording Best Practices
Professional sound quality doesn’t just come from equipment — it’s about technique and consistency.
Tips for high-quality recording:
-
Maintain 6–8 inches distance from the microphone.
-
Record in a quiet space with minimal echo.
-
Speak at consistent volume and tone.
-
Record each speaker on a separate track if possible (makes editing easier).
-
Monitor audio levels — avoid clipping (peaking above -6dB).
-
Record a few seconds of room tone (silence) — helps remove background noise later.
Take time to do a quick test recording before each session to ensure everything sounds balanced.
5. Editing: Polishing Your Audio
Editing transforms your raw recording into a clear, engaging, professional-quality episode. The goal is to remove distractions, tighten pacing, and ensure smooth flow.
Key editing tasks:
-
Trimming: Remove dead air, tangents, or mistakes.
-
Noise reduction: Eliminate hums or background sounds.
-
EQ (Equalization): Adjust bass, mids, and treble for clarity.
-
Compression: Evens out loud and quiet parts for consistent volume.
-
Normalize: Standardize loudness to about -16 LUFS (for podcasts).
-
Add music: Intro/outro music or transitions enhance professionalism.
-
Export: Save as MP3, 128–192 kbps bitrate for quality vs. file size balance.
You can use Audacity or Adobe Audition to perform these steps, depending on your skill level and budget.
6. Adding Music, Intros, and Outros
Your show’s sonic branding matters. Use music to create recognition and mood — but keep it licensed or royalty-free.
Sources for royalty-free music:
-
Pixabay Music
-
Free Music Archive
-
PremiumBeat
-
Epidemic Sound
Keep intros short (10–15 seconds) and outros around 30 seconds. Include calls to action such as subscribing or following on social media.
Pro Tip: Record a consistent intro for all episodes to reinforce brand identity.
7. Publishing Your Podcast: Hosting Platforms and Distribution
Once your episode is ready, it needs a hosting platform — a service that stores your audio files and distributes them to podcast directories (Spotify, Apple Podcasts, etc.).
Popular Hosting Platforms:
-
Buzzsprout: Simple analytics and distribution tools.
-
Podbean: Budget-friendly with monetization options.
-
Captivate: Marketing tools and detailed audience insights.
-
Anchor (Spotify for Podcasters): Free, integrates with Spotify.
-
Transistor: Great for team management and private podcasting.
After uploading, your host provides an RSS feed — the link you submit to directories like:
-
Apple Podcasts
-
Spotify
-
Google Podcasts
-
Amazon Music
-
Stitcher
-
Pocket Casts
Once approved, new episodes are automatically distributed when published through your host.
8. Show Notes and Metadata: The Unsung Heroes of Discovery
Good show notes are essential for SEO, accessibility, and listener engagement. Each episode should include:
-
A concise summary of what’s discussed.
-
Key timestamps for major topics.
-
Links to resources or guest websites.
-
Your website and social handles.
Also, fill in metadata tags (title, episode number, description, artwork). This helps directories categorize your show and boosts discoverability.
9. Quality Control: Reviewing Before Publishing
Before going live, always listen to your full episode at least once. Check for:
-
Volume consistency between voices.
-
Smooth transitions and music fades.
-
Correct spelling in titles and metadata.
-
Audio quality on multiple devices (headphones, car, phone speakers).
A simple checklist ensures professionalism and reduces post-launch fixes.
10. Workflow Optimization: Staying Efficient
As you produce more episodes, establish a repeatable process to save time:
-
Plan content calendar 4–6 weeks ahead.
-
Record in batches (2–3 episodes per session).
-
Create templates for editing (consistent settings and intros).
-
Automate publishing and social media scheduling.
-
Use project management tools (Trello, Notion, ClickUp) to track production stages.
With an efficient workflow, you’ll stay consistent without burnout.
Conclusion: From Raw Audio to a Professional Podcast
Podcasting may seem technical, but it’s ultimately about communication and connection. By mastering the basics — quality recording, thoughtful editing, and strategic publishing — you can produce episodes that sound as polished as top-tier shows.
Remember: audio quality influences credibility. A clean, well-edited show makes listeners trust you and your brand. Start simple, refine your process, and soon recording, editing, and publishing will become second nature.
Your podcast is your voice — make sure it sounds like the professional brand you’re building.
- Arts
- Business
- Computers
- Jogos
- Health
- Início
- Kids and Teens
- Money
- News
- Personal Development
- Recreation
- Regional
- Reference
- Science
- Shopping
- Society
- Sports
- Бизнес
- Деньги
- Дом
- Досуг
- Здоровье
- Игры
- Искусство
- Источники информации
- Компьютеры
- Личное развитие
- Наука
- Новости и СМИ
- Общество
- Покупки
- Спорт
- Страны и регионы
- World
