How to make a DIY aquarium
How to make a DIY aquarium
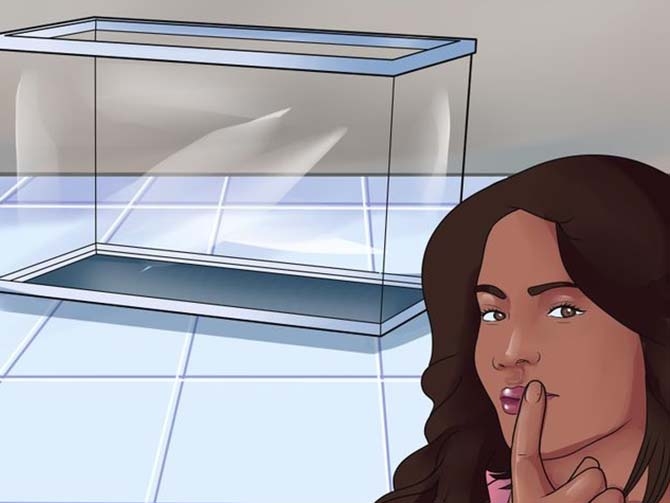
Nowadays, building a DIY aquarium at home is a fairly simple task thanks to modern materials and sealants. It will take a little skill, moderate financial costs and, of course, desire. As a rule, it will be cheaper to make an aquarium yourself than to buy one.
Step 1. Defining Goals
First of all, you need to decide for what purpose it is created: turtles, iguanas and other reptiles will live in it, or it will be an aquarium with fish. Depending on this, the size of the tank and the thickness of the glass are calculated.
Step 2. Glass Selection
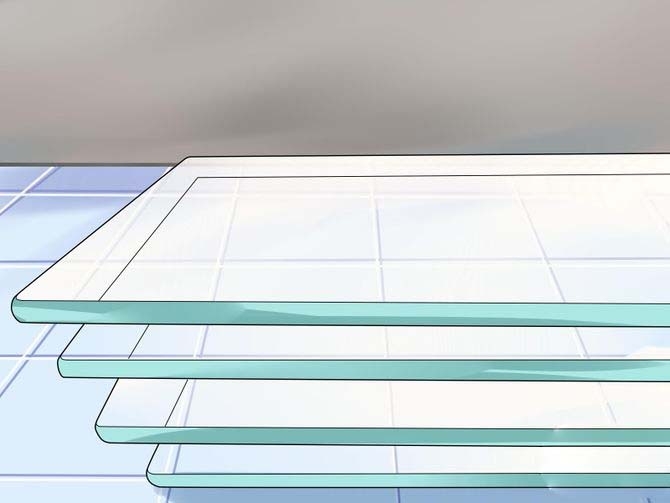
Several materials are used to build an aquarium, each of which has its own advantages and disadvantages.
Plexiglass is easy to process and flexible, so you can create different shapes with curved surfaces. The disadvantages include low strength under high pressure. It is better not to make a tank of more than 100 liters from it. In addition, under the influence of certain substances, plexiglass becomes cloudy.
Acrylic is both strong and flexible, and can be used to make large aquariums of various shapes. However, acrylic glass has a shorter lifespan than glass glass, and just like plexiglass, it is easily scratched.
Tempered glass is strong and durable. The glass is easy to care for and hard to scratch, and it does not become cloudy over time. One of the disadvantages is the impossibility of creating complex shapes of aquariums, since it does not bend under normal conditions.
Step 3. Glass Thickness Selection
The walls of an aquarium filled with water are under a lot of pressure. The greater the volume and height of the walls, the higher the pressure. As a general guideline, you can be guided by the following ratio of height to thickness of glass:
- up to 30 cm – 5 mm
- 30-60 cm - 10 mm
- 60-80 cm - 20 mm
Step 4. Glass Dimensions and Tools Required
Correct glass dimensions are important. If you order cutting, just name the desired dimensions and the necessary elements will be made for you, be sure to check the compatibility of the parts before acceptance.
If you are engaged in glass cutting on your own, then you need to take into account the following:
- The walls are placed directly on the bottom sheet of glass – the future bottom, and are not attached to it from the side. They have to stand on it.
- The walls of the tank are paired (front and rear windows and two side windows). The front and rear windows are the same length as the bottom window. The side panes should be shorter than the edge of the lower pane to which they will be attached.
For example, the width is 30 cm, and the thickness of the glass is 0.5 cm, so the side glass should be made 29 cm wide.
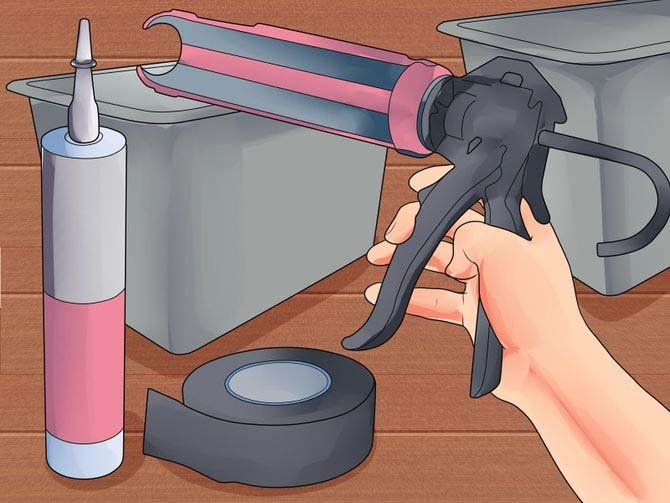
To build an aquarium you will need: masking tape, a scraper, a scraper blade, soaked paper napkins, scissors, cleaning cloths, aquarium silicone, a silicone gun, cleaning paper and prepared pieces of glass.
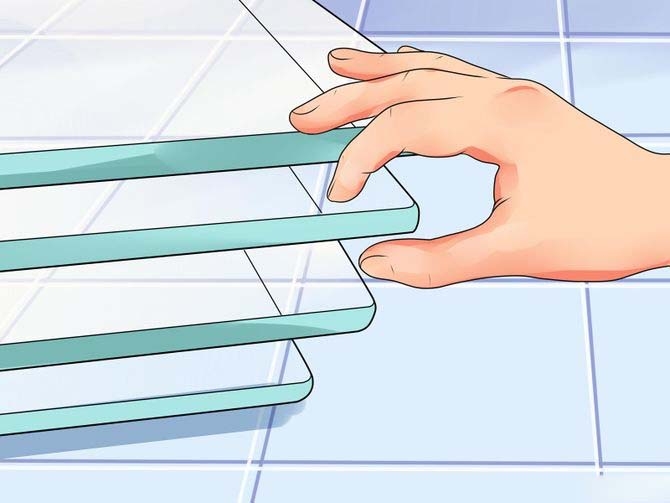
Step 5. Glass Arrangement
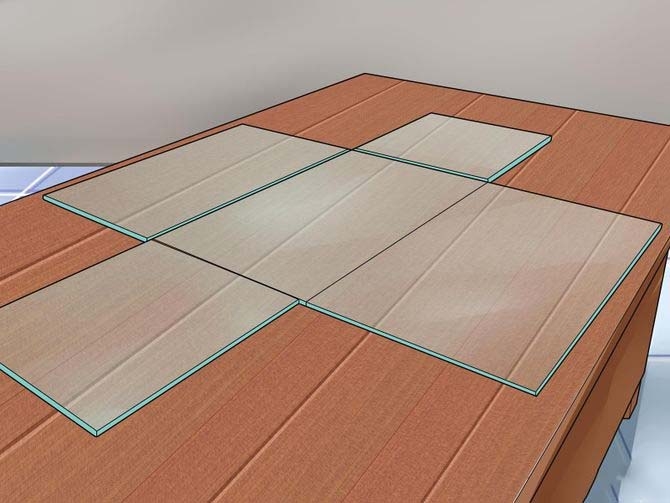
On a flat, hard surface, arrange the future tank fragments in the correct order. The sheet that will become the bottom is located in the center, and next to each face there is another sheet of glass corresponding to it.
Step 6. Surface Cleaning

Glass should be treated with wipes soaked in alcohol or acetone. Pay special attention to the edges on which the silicone sealant will be applied. Dirt and even more so particles of dirt will reduce the adhesion of the parts and in the future will lead to leakage of the aquarium, in the worst case to its destruction. The latter scenario may well lead to flooding of the neighbors below.
Step 7. Masking tape sticker
Before applying aquarium silicone, masking tape is glued around the edges of the glass to avoid silicone contamination. Place the side pieces on the future bottom of the tank to identify the areas where the masking tape is covered.
Step 8. Silicone application
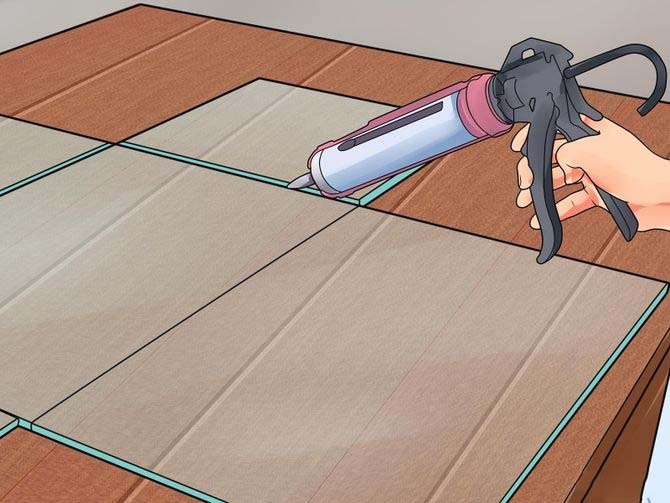
The assembly is carried out in stages, you should not immediately apply aquarium silicone to all faces. Use a gun to squeeze out a thin strip about 3 mm thick for a 0.5 cm glass. Practice until you're good at it.
Step 9. Wall installation
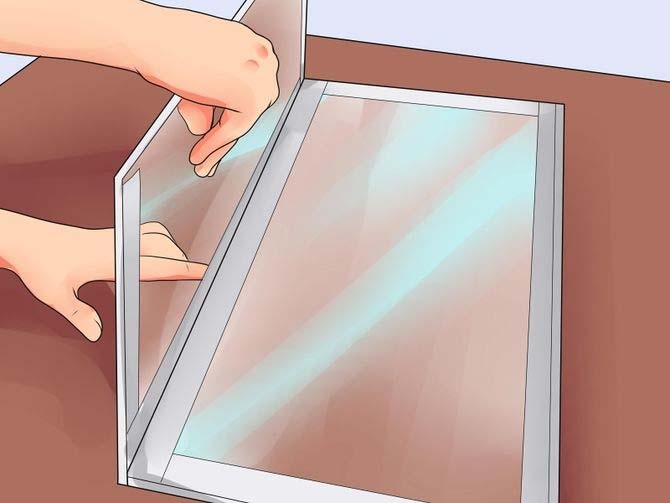
Attach the first glass, press firmly but gently. The first side glass is unstable, except for the silicone on the bottom edge, it is not attached to anything else, so use support. Place an object close to the first side window to hold it or use the help of a friend/partner.
Step 10. Completion of installation
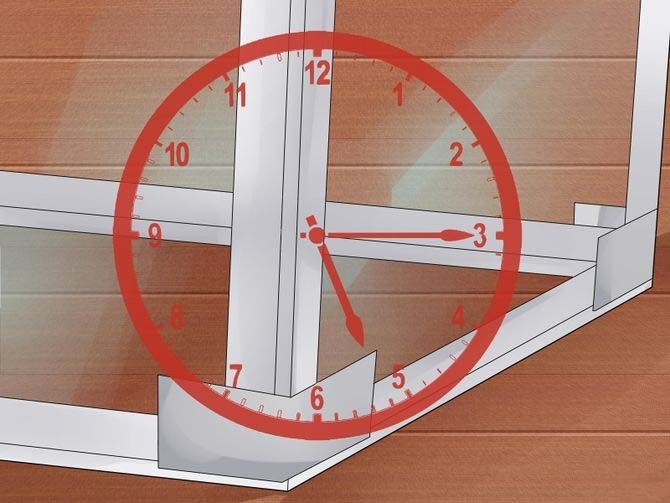
Sequentially attach each successive glass, the silicone residue is removed with a scraper. When installation is complete, peel off the masking tape and gently clean the surface if necessary. Full fixation of silicone depends on the manufacturer, refer to the instructions for use.
- Arts
- Business
- Computers
- Giochi
- Health
- Home
- Kids and Teens
- Money
- News
- Personal Development
- Recreation
- Regional
- Reference
- Science
- Shopping
- Society
- Sports
- Бизнес
- Деньги
- Дом
- Досуг
- Здоровье
- Игры
- Искусство
- Источники информации
- Компьютеры
- Личное развитие
- Наука
- Новости и СМИ
- Общество
- Покупки
- Спорт
- Страны и регионы
- World
